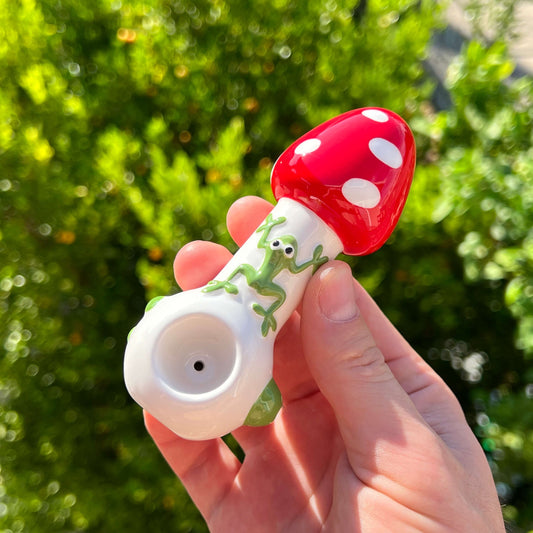
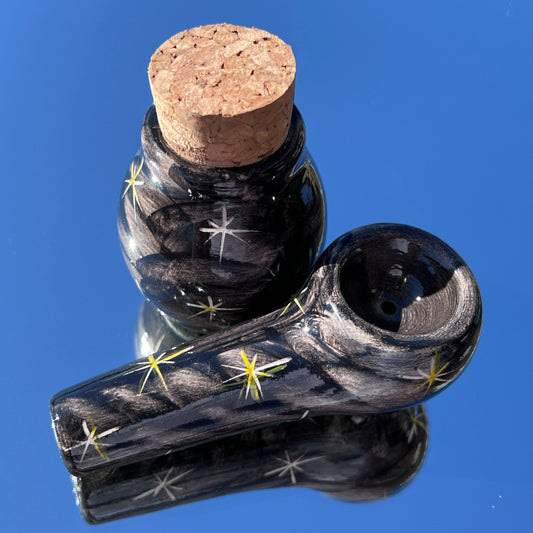
Ceramic pipes have gained popularity among smokers for their beauty, durability, and versatility. If you're looking to embark on a creative journey and create your own ceramic pipe, this article is for you. In this step-by-step guide, we will explore the process of making unique ceramic pipes, from the initial design to the final glazing and firing. Get ready to unleash your creativity and craft a unique smoking accessory that reflects your personal style.

Materials Needed:
-
Clay: Choose a clay suitable for ceramic pipes, such as stoneware or earthenware clay. These clays have good strength and are suitable for firing at high temperatures.
-
Pottery Tools: Gather a variety of pottery tools, including a clay knife, modeling tools, a sponge, a wire cutter, and a pottery wheel (optional).
-
Rolling Pin: A rolling pin or a slab roller will be handy for rolling out the clay evenly.
-
Templates: Prepare templates or stencils in the desired shape and size of your pipe.
-
Kiln: You will need access to a kiln for firing your ceramic pipe. If you don't have one, consider reaching out to local pottery studios or community centers that offer kiln services.
Step-by-Step Guide:
-
Design and Planning:
- Sketch out your pipe design, considering the shape, size, and any decorative elements you want to incorporate.
- Take into account the functionality of the pipe, ensuring a comfortable grip and a well-designed bowl.
-
Preparing the Clay:
- Knead the clay to remove any air bubbles and ensure a smooth texture.
- Roll out the clay to a thickness suitable for your pipe, using a rolling pin or a slab roller.
- Place your template or stencil on the rolled-out clay and trace the outline using a clay knife.
-
Shaping the Pipe:
- Cut out the traced shape using a clay knife, ensuring clean edges.
- If desired, add decorative elements using modeling tools. You can carve patterns, add textures, or sculpt small embellishments.
- Join different pieces of clay by scoring and applying slip (a mixture of clay and water) to create a secure bond.
-
Assembling the Pipe:
- Roll a small coil of clay to form the stem of the pipe.
- Attach the stem to the pipe bowl, smoothing the connection point with your fingers or a damp sponge.
- Ensure the stem is properly aligned with the bowl, creating a functional smoking accessory.
-
Drying and Firing:
- Allow your ceramic pipe to dry slowly, preferably under a plastic wrap to control the drying process and prevent cracking.
- Once the pipe is completely dry, it is ready for the first firing, known as the bisque firing. Follow the instructions provided by the clay manufacturer or consult a pottery expert for the appropriate firing temperature and duration.
-
Glazing and Final Firing:
- After the bisque firing, your pipe is ready for glazing. Select food-safe glazes suitable for the firing temperature of your clay.
- Apply glazes using brushes, sponges, or dipping techniques, allowing each layer to dry before adding the next.
- Once your pipe is glazed, it is ready for the final firing. Place it carefully in the kiln and follow the recommended firing schedule.
Crafting your own ceramic pipe is an exciting and rewarding process that allows you to express your creativity while creating a functional piece of art. By following this step-by-step guide, you can design and make a ceramic pipe that reflects your unique style and preferences. Remember to experiment with different shapes, textures, and glazes to create a truly personalized smoking accessory. So, gather your materials, let your imagination run wild, and enjoy the journey of making your very own ceramic pipe.

